Mastering the use of your kitchen and gas appliances can elevate your cooking experience, providing precision and convenience. This blog covers essential tips and techniques to use your built-in oven effectively, whether you’re baking, roasting, broiling, or using specialized cooking modes.
What is Built-In Oven?
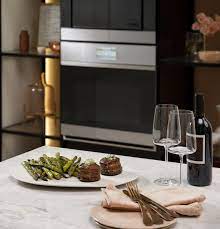
A built-in oven is designed to fit seamlessly into your kitchen cabinetry, creating a streamlined look and saving space. Unlike freestanding ovens, this type is built into the kitchen design, often positioned at eye level for ease of use. These ovens come in various configurations, including single and double units, and offer multiple cooking functions.
Types of Integrated Ovens
- Single Units: These are ideal for everyday baking and roasting, featuring one compartment that suits most cooking needs.
- Double Units: With two separate compartments, these ovens are perfect for preparing multiple dishes at once, catering to large families or frequent entertainers.
- Compact Models: Smaller in size, compact ovens are ideal for kitchens with limited space or as an additional cooking option.
Preparing Your Oven for Use
Initial Setup
Before using your wall oven for the first time, review the manufacturer’s manual for detailed installation instructions and safety guidelines. Proper installation ensures optimal performance and safety. Verify that the oven is connected to the power supply and installed correctly according to the manual.
Cleaning Before First Use
To ensure that your oven is clean and free from any dust or residues from manufacturing, wipe down the interior with a damp cloth. Avoid using harsh chemicals or abrasive materials, as they can damage the oven’s surfaces and potentially affect its performance.
Operating Your Oven
Preheating Your Oven

Built-in Oven
Preheating is crucial for achieving accurate cooking results. Follow these steps to preheat your oven properly:
- Turn on the Appliance: Use the control panel or dial to set the desired temperature.
- Wait for the Indicator: Many integrated ovens feature a preheat indicator that signals when the oven has reached the set temperature. If your model lacks this feature, a general guideline is to wait about 10 minutes.
- Use a Timer: For more accurate preheating, use a timer to ensure the oven reaches the desired temperature before placing your food inside.
Exploring Cooking Modes and Functions
Built-in ovens offer a variety of cooking modes, each designed for specific tasks:
- Bake: This mode is ideal for preparing cakes, cookies, and casseroles. It uses heat from both the top and bottom elements, ensuring even cooking.
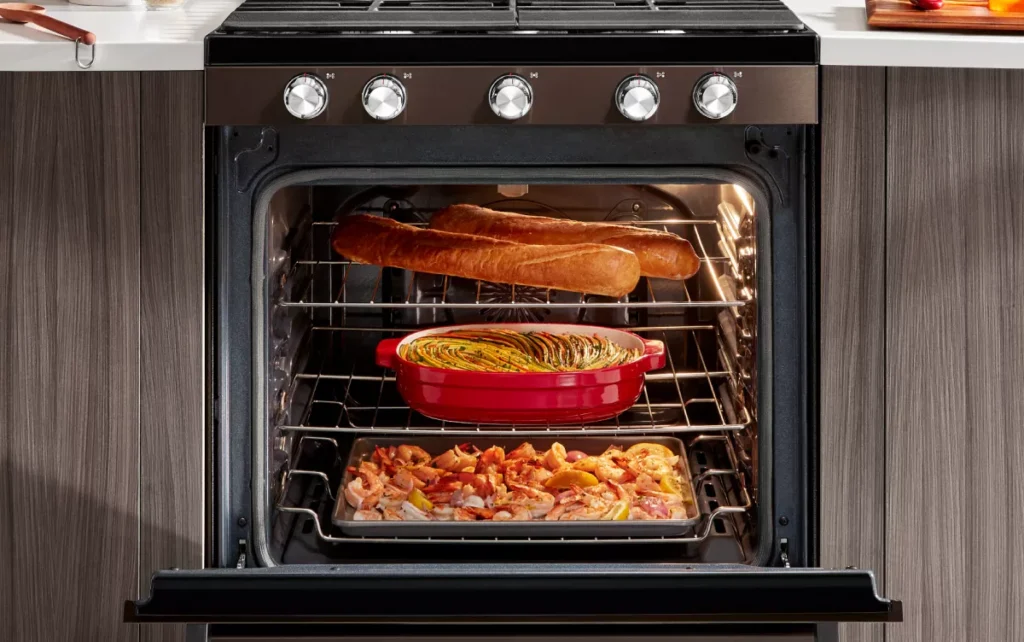
- Roast: Suitable for meats and vegetables, the roast mode often utilizes a fan and higher temperatures to achieve a crispy exterior while keeping the inside tender.
- Broil: Best for grilling or browning, the broil mode uses heat from the top element. Place your food on the top rack to ensure it cooks evenly.
- Convection: This mode includes a fan that circulates hot air around the oven, promoting even cooking and reducing overall cooking times. It’s ideal for baking multiple trays of cookies or roasting meats.
- Self-Cleaning: Many integrated ovens feature a self-cleaning function that uses high heat to burn off food residues, making cleaning easier. Always follow the manufacturer’s instructions for this feature.
Using Oven Racks Effectively
Rack placement is essential for even cooking:
- Top Rack: Ideal for broiling or cooking dishes that need a crisp top. Ensure food is positioned close to the heating element.
- Middle Rack: Most baking tasks benefit from this position, as it provides even heat distribution.
- Bottom Rack: Use this for dishes requiring a crispy base, such as pizzas or bread. Be mindful that the bottom element can cause uneven cooking if not used correctly.

Monitoring Cooking Progress
To avoid temperature fluctuations and ensure accurate cooking:
- Use the Oven Light: Check on your food through the oven light to avoid opening the door frequently, which can lead to heat loss.
- Employ an Oven Thermometer: For precise temperature readings, consider using an oven thermometer, especially if you suspect your oven’s temperature settings are inaccurate.
Maintaining Your Oven
Regular Cleaning and Upkeep
Maintaining a clean oven is crucial for its performance and longevity:
- Wipe Spills Immediately: Clean up spills and splatters as soon as they occur to prevent them from burning onto the oven’s surfaces.
- Use Suitable Cleaners: Use oven-safe cleaners or a mixture of baking soda and water to clean the interior. Avoid using abrasive scrubbers that can damage the surface.
- Clean the Door: Regularly wipe the oven door with a damp cloth and mild detergent to remove grease and stains.
Routine Maintenance
- Check the Door Seal: Inspect the door seal regularly to ensure it’s intact and free from damage. A faulty seal can cause heat loss and reduce cooking efficiency.
- Inspect Heating Elements: Periodically check the heating elements for any signs of wear or damage. Replace any faulty elements to maintain optimal performance.
- Professional Servicing: If you notice performance issues or if the oven is not heating evenly, schedule professional maintenance to address any underlying problems.
Troubleshooting Common Issues
Oven Not Heating
- Verify Power Supply: Ensure the oven is properly connected to the power supply and check if the circuit breaker has tripped.
- Inspect Heating Elements: A faulty element may need to be replaced to restore proper function.
Uneven Cooking Results
- Adjust Rack Placement: Ensure that the racks are positioned correctly for even heat distribution. Experiment with different positions if necessary.
- Utilize Convection Mode: If available, use convection mode for more even cooking results, especially when baking multiple items.
Self-Cleaning Problems
- Follow Manufacturer Instructions: Always adhere to the guidelines provided for the self-cleaning function to avoid damage.
- Ensure Proper Ventilation: Maintain good kitchen ventilation during the self-cleaning cycle to prevent smoke buildup.
Need expert help or have questions about your built-in oven? Visit us at Lahore Centre in Lahore for professional advice and best service. Contact us today to schedule a consultation or to learn more about our services!
For additional tips on kitchen appliances and advanced cooking techniques, keep exploring our blogs!


